
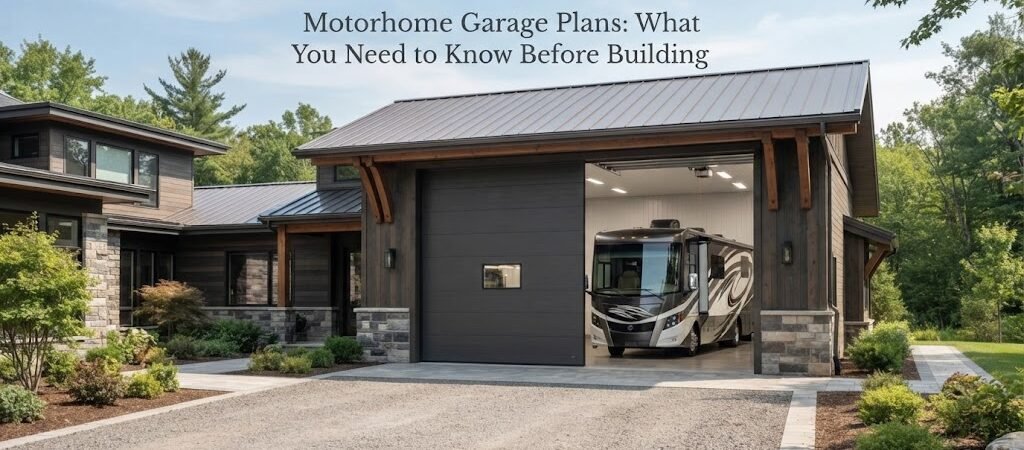
Motorhome Garage Plans: What You Need to Know Before Building
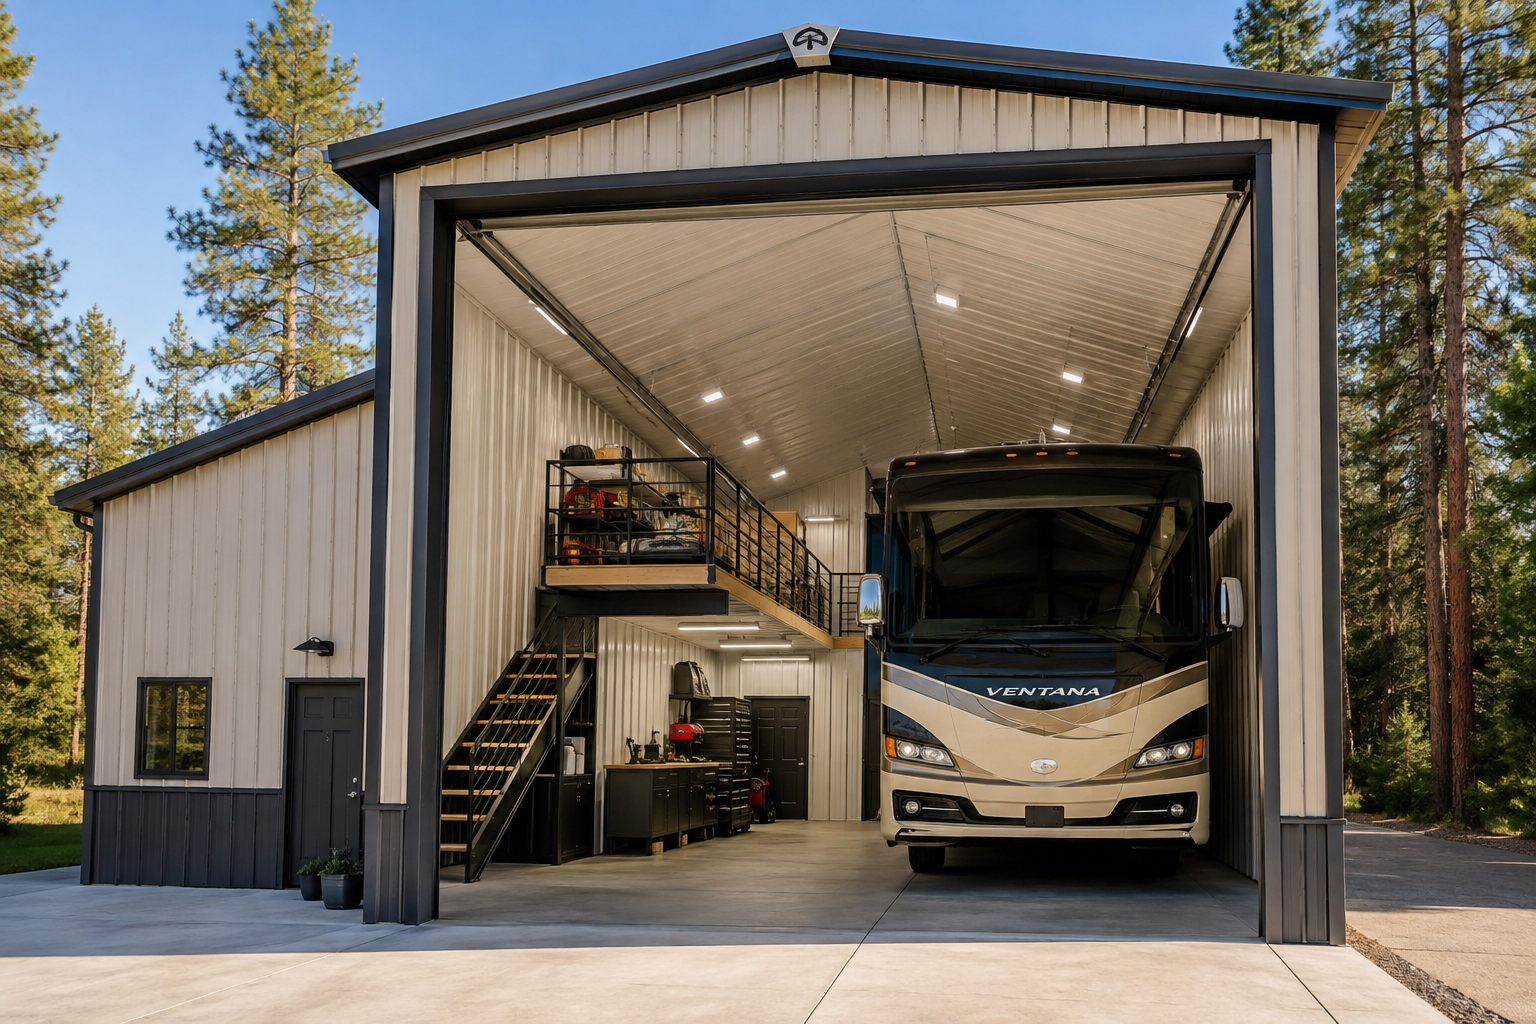
Most garages are built for cars, trucks, and maybe a lawnmower. A motorhome is a completely different animal. If you pull a 35-foot Class A up to a standard two-car garage, you’re going to have a problem with the door, the ceiling, and probably your patience.
Building a garage for a motorhome takes more thought than just making a big box. The height, the length, the way you drive in and out, and even the type of roof you pick all matter more than they would for a regular garage. Getting these details wrong means you either can’t fit your rig inside or you spend every trip scraping the top of the door frame.
Here’s what you actually need to think about before you pour concrete or set posts.

Door Height Is the First Thing to Get Right
The single biggest mistake people make is building the door too short. Motorhomes are tall. A Class A can easily be 12 to 13 feet tall, and some models with roof-mounted AC units or satellite dishes push closer to 14 feet. Class C motorhomes usually sit around 11 to 12 feet. Even a Class B van conversion can be over 10 feet.
Your garage door needs to be taller than your motorhome, not the same height. You want at least a foot of clearance above the tallest point of your rig. That gives you room for antennas, AC shrouds, and the slight bounce that happens when you drive over the threshold.
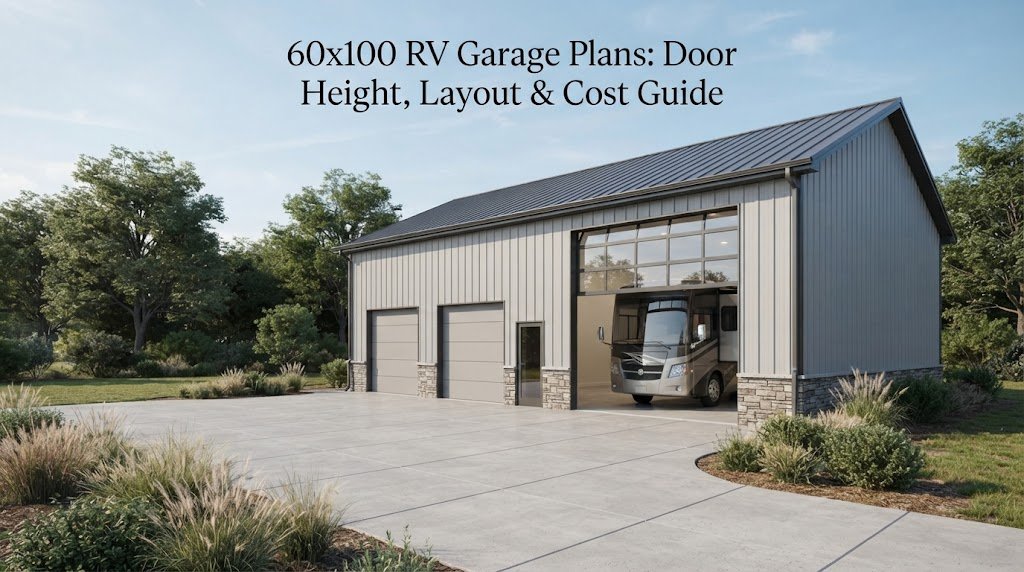
So if your motorhome measures 13 feet from the ground to the top of the AC unit, you’re looking at a 14-foot door at minimum. Many people go with 16-foot doors just to be safe, especially if they think they might upgrade to a bigger rig down the road.
Door width matters too. Most motorhomes are around 8 to 8.5 feet wide, but you don’t want to squeeze through a 10-foot door. A 12-foot-wide door gives you comfortable room on each side. If you’re a nervous driver or you park on a slight angle sometimes, 14 feet wide is even better.
Overall Building Dimensions
Once you know your door size, the rest of the building dimensions start to fall into place.
Length is usually the easiest part. Measure your motorhome from bumper to bumper, then add at least 4 to 6 feet at the front and back. You need room to walk around, open storage compartments, and access hookups if you plan to store the rig plugged in. A 40-foot motorhome in a 40-foot building is going to feel cramped fast. A 48 to 50-foot-deep building gives you breathing room.
Width depends on what else you want in there. If it’s just the motorhome, a 20-foot-wide interior is workable. But if you want shelving, a workbench, or space to park a tow vehicle next to the rig, you’ll want 30 feet or more.
Ceiling height inside the building should be higher than the door. The door frame and track take up space, and you’ll likely have lights, fans, or an overhead heater hanging down. A 16-foot eave height with a 14-foot door is a common combination that works well for most setups.
If you’re planning to use the building for more than just parking, looking at different garage and workshop plans can help you figure out how to arrange the interior so everything fits without feeling cluttered.
Pole Barn vs. Metal Building
Most motorhome garages end up being either pole barns or pre-engineered metal buildings. Both work, but they have different strengths.
Pole barns are popular because they’re relatively affordable, go up fast, and don’t always need a full concrete foundation. The posts carry the load, so you can get wide open spans without interior support columns getting in the way of your rig. That open interior is a big deal when you’re trying to maneuver a 40-foot vehicle into a tight space.
Metal buildings are another solid option, especially if you want a very clean interior finish or plan to insulate the whole thing heavily. They tend to have clear-span frames that also keep the interior open.
Either way, the structural system needs to handle your local snow and wind loads. What works in Texas won’t necessarily work in Minnesota. Talk to a local builder or engineer about what your area requires before you commit to a specific frame type.
If you’re leaning toward a pole barn style, browsing pole barn plans can give you a sense of the different sizes and layouts that are available.
Floor and Foundation
A motorhome is heavy. A fully loaded Class A can weigh 30,000 to 40,000 pounds, and all of that weight sits on the tires in a few small contact patches. Your floor needs to handle that.
A standard 4-inch residential garage slab might crack under a heavy motorhome over time, especially if the ground underneath wasn’t compacted properly. Many builders recommend a thicker reinforced slab for RV garages. The exact thickness and reinforcement you need depends on your soil conditions and the weight of your rig, so this is another area where local advice matters.
If you’re building a pole barn, you might not pour a full slab right away. Some people park on compacted gravel and add concrete later. That’s fine as a temporary solution, but concrete is a lot easier to keep clean and it handles the weight better long term.
Make sure the floor is level, especially near the door. A slope that works for draining rain out of a car garage can make parking a long motorhome awkward.
Ventilation and Climate Control
Motorhomes are basically houses on wheels, and they don’t like sitting in extreme heat or moisture any more than a regular house does.
If you live somewhere humid, a sealed-up metal building can turn into a sweatbox in the summer. Condensation on the walls and ceiling can drip onto your rig and cause mold or water damage over time. Ridge vents, soffit vents, or powered exhaust fans help move air through the building and keep things drier.
If you plan to work on the motorhome during winter or want to keep it at a stable temperature, insulation becomes important. Spray foam, fiberglass batts, and reflective barrier insulation all have their place depending on your climate and budget. Just make sure you plan for insulation before the building goes up. Retrofitting it later is always more expensive and more of a hassle.
Maneuvering Room Outside
Don’t forget about the space outside the door. You need a clear, flat area in front of the garage to line up your motorhome before you back in or pull out. A tight driveway with a sharp turn right at the door is going to make every parking job stressful.
Ideally, you want at least 40 to 60 feet of straight approach in front of the building. If your property doesn’t allow that, you might need to angle the building differently on the lot or widen the driveway near the entrance.
Also think about overhead clearance outside. Trees, power lines, and roof overhangs can all be obstacles when you’re driving a 13-foot-tall vehicle around your property.
Permits and Planning
Before you start building, check with your local building department about permits, setbacks, and height restrictions. Some areas have rules about how tall an accessory building can be, and a motorhome garage with a 16-foot eave and a peaked roof might push past the limit in certain zones.
Setback requirements can also affect where you place the building on your property. If you need the garage close to the road for easy access but your local rules say it has to be a certain distance from the property line, you’ll need to plan around that.
These rules vary a lot from one county to the next, so there’s no single answer that applies everywhere. A quick call to your local permitting office can save you a lot of headaches later.

Getting Started
Building a motorhome garage is a big project, but it’s not complicated if you get the key dimensions right from the start. Measure your rig carefully, plan for extra clearance, choose a building style that fits your budget and property, and make sure the floor can handle the weight.
If you want to see how other people have laid out similar buildings, a building plan collection can help you compare different sizes and configurations before you start talking to builders. Getting the plan right on paper is a lot cheaper than fixing mistakes after the concrete is poured.