
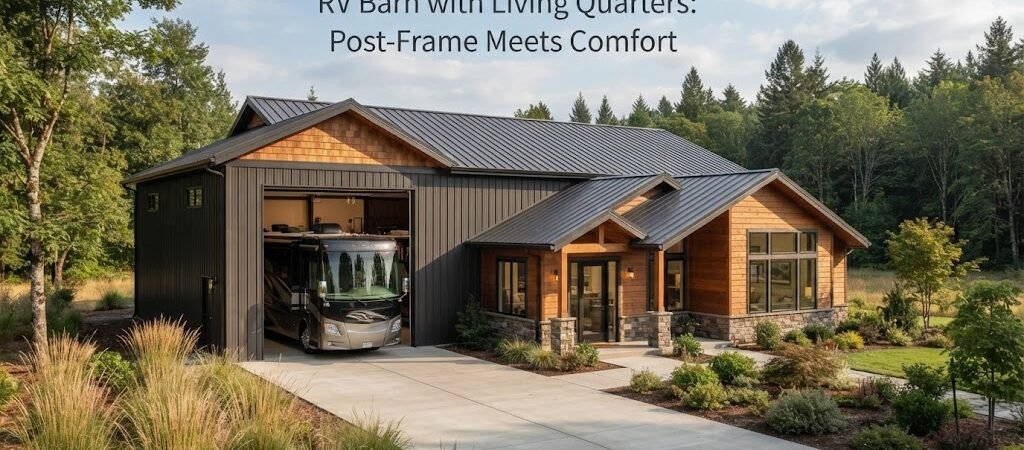
RV Barn with Living Quarters: Post-Frame Meets Comfort
Keeping your RV in a standard garage often means dealing with tight turns and worrying about scraping the roof. Building a dedicated RV barn solves that problem completely. Adding comfortable living quarters to the same structure gives you a great place to stay while working on the rig, hosting guests, or just enjoying your land.
Post-frame construction makes pulling off both of these goals much easier than you might think. It gives you the massive open space your vehicle needs and the flexibility to build a highly customized living area right next to it.

Getting the RV Bay Right
The vehicle side of your building needs to accommodate height, width, and depth. RVs are tall, and standard 8-foot or 10-foot walls simply will not work. You will usually need 14-foot to 16-foot sidewalls to clear the roof of a motorhome or the air conditioner on a fifth wheel.
Oversized overhead doors are a must. A 14-foot by 14-foot door is common, but a 16-foot by 16-foot door gives you much more margin for error when pulling in.
Depth is just as critical as height. You need enough room to pull the rig all the way inside, close the door, and still have space to walk around the front of it. A depth of 40 to 50 feet is a good starting point for most large RVs.
Do not forget about the floor. A standard 4-inch concrete garage slab might crack under the concentrated weight of a large diesel pusher. Ask your builder about pouring a 5-inch or 6-inch reinforced concrete slab. You should also plan for a large concrete apron outside the doors. You need plenty of space to swing the RV into the bay without backing off the pavement into the mud.
Setting Up the Living Space
The living quarters can be designed as a side wing, a rear extension, or even a second story. A side wing is usually the most cost-effective and straightforward option. It keeps the living space on a single level and makes the roofline much easier to frame.
If you want a full apartment setup with a bedroom, kitchen, and bathroom, looking at barndominium plans can give you a great starting point for the interior layout.
Insulation is a major factor here. The RV side might only need a simple metal liner panel, but the living side requires full cavity insulation, a vapor barrier, and finished interior walls. You are essentially building a house attached to a giant garage.
Heating and cooling need careful planning. You do not want to pay to condition a 40-foot deep RV bay. Set up separate HVAC zones. The living quarters should have their own dedicated system and thermostat, completely separate from any fans or heaters you might put in the shop area.
You also need to think about the wall separating the two spaces. Building codes usually require a fire-rated separation between a living area and a vehicle garage. Your builder will know exactly what materials and drywall thickness your local rules require.
The Post-Frame Advantage
Pole barns are the ideal choice for this specific type of project because of clear-span construction. Traditional stick-frame buildings often need interior load-bearing walls or support columns to hold up the roof. Those interior poles would get in the way of your RV.
Post-frame buildings use large roof trusses to span the entire width of the building. This leaves the interior completely open. You can park a 45-foot motorhome in the center of the bay without worrying about hitting a support column.
Comparing different pole barn layouts helps you see how to split the square footage between the vehicle bay and the living area to get the exact proportions you need.
This open interior also makes it much easier to run plumbing, electrical, and HVAC lines through the walls and ceiling cavities before the insulation and interior walls go up.
Planning the Details
Before you finalize your design, you need to sort out the utilities. The living quarters will need a full connection to water, sewer or septic, and electrical. The RV side will need its own electrical setup, typically a 50-amp or 30-amp RV pedestal or a dedicated hardwired hookup inside the bay.
If you plan to wash your RV inside the barn, you will need a hot water heater and a floor drain in the concrete slab. Keep in mind that local codes might require an oil separator in the drain if you are washing vehicles.
Site preparation is another big piece of the puzzle. You need a level building pad with proper drainage sloping away from the structure. A large metal building catches a lot of rainwater, and you do not want that runoff pooling under your RV or washing out the driveway.
Finally, check your local zoning and permit rules. Some municipalities have strict regulations about using an accessory building as a full-time residence. Others might restrict the square footage of an accessory dwelling unit. Talk to your local building department early in the process so you do not run into surprises later.

Building an RV barn with living quarters is a major project, but it pays off in daily convenience and long-term property value. You get a safe, dry place for your biggest toy and a comfortable retreat to enjoy your land.
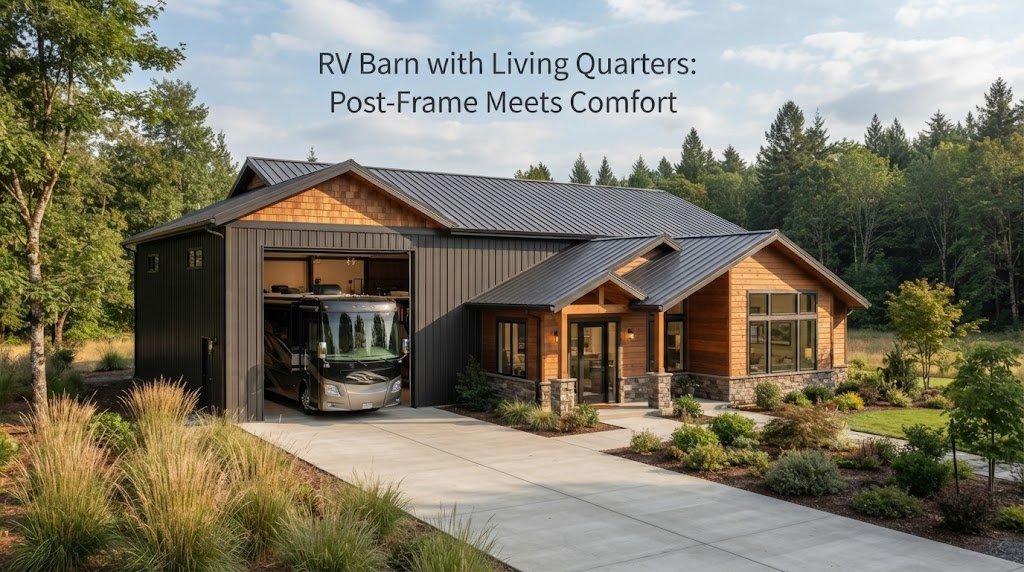
Before you pour any concrete or order any materials, spend some time looking at building plan collections to figure out exactly how much space you need for both the rig and your living area. Getting the layout right on paper is the best way to ensure the final building works perfectly for your lifestyle.