
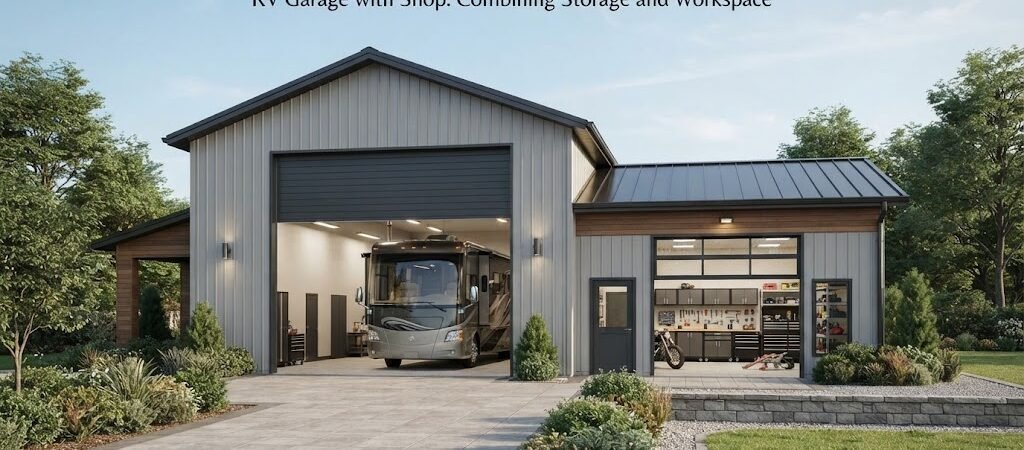
RV Garage with Shop: Combining Storage and Workspace
If you own an RV, you already know the headaches of leaving it outside. Sun fades the paint. Hail dents the roof. Tree sap sticks to the awning. And that’s before you even think about winter ice or summer heat baking the seals on your slide-outs.
A lot of RV owners solve this by building a tall garage. But if you’re going to pour a slab and put up a big metal building anyway, it makes a lot of sense to tack on some workshop space while you’re at it. You’re already buying the materials. You’re already hiring the crew. Adding a few extra bays for tools, a workbench, and maybe a welder doesn’t cost nearly as much as building a second structure later.
This article walks through what it takes to plan an RV garage that doubles as a functional shop, from sizing to layout to the little details that trip people up.

Figuring Out How Big You Actually Need
The first mistake people make is sizing the building around the RV they have right now. RVs get replaced. You might upgrade from a 30-foot travel trailer to a 40-foot fifth wheel in a few years. Build for the bigger rig, not the one sitting in your driveway today.
Most Class A motorhomes and large fifth wheels need a bay that’s at least 14 feet wide and 45 to 50 feet deep. Door height is where a lot of people get surprised. A standard garage door won’t cut it. You’ll want a minimum of 14 feet tall, and 16 feet is safer if your RV has rooftop air conditioners or a satellite dish that sticks up.
For the shop side, think about what you’ll actually do in there. If you just need a workbench and some shelving for yard tools, a 20-by-30-foot space is plenty. If you plan to work on vehicles, store a boat, or run heavy equipment like a table saw and a compressor, you’ll want more room to move around. A 30-by-40 or 30-by-50 shop area gives you breathing room.
Put it all together and a common footprint for a combined RV garage and shop lands somewhere around 50 by 80 feet or 60 by 100 feet. That’s a big building, but it’s not unusual for rural properties.
Picking a Layout That Works
There are a few ways to arrange the RV bay and the shop under one roof, and each has trade-offs.
Side by side is the most popular. The RV pulls into one half of the building, and the shop takes up the other. This keeps noise and dust somewhat separated from your rig. It also means you can work in the shop without moving the RV out of the way. The downside is that you need a wider building, which means a wider roof span and potentially more engineering.
Front to back puts the RV bay at one end and the shop at the other. This works well on narrow lots. The challenge is access. If the RV is parked in front, you have to move it every time you want to get to the shop. That gets old fast, especially on a cold morning when you just want to grab a tool.
Lean-to addition is a good option if you already have an RV carport or tall garage. You can add a lean-to shop off one side. It’s usually cheaper than building everything from scratch, and it lets you phase the project over time.
If you’re starting from the beginning and want to see how different footprints come together, browsing pole barn plans can help you visualize what fits on your property.
Doors, Clearances, and the Details People Forget
Door placement matters more than you’d think. The RV bay obviously needs a tall overhead door on the front. But the shop side needs its own entry too, ideally a walk-through door and maybe a smaller overhead door for moving equipment in and out.
Think about turning radius. If your property has a tight driveway, you might need the RV door on the gable end instead of the side wall. Backing a 40-foot rig into a narrow opening is stressful enough without dodging fence posts.
Inside the building, pay attention to column spacing. If you’re going with a pole barn style frame, the posts need to be far enough apart that you can actually park the RV and open the slide-outs. A 12-foot column spacing is common, but you might want to go wider on the RV side.
Ceiling height inside should be a couple of feet taller than your door. A 14-foot door with a 16-foot interior clearance gives you room for lights, fans, and maybe a hoist in the shop area later.
Floors, Ventilation, and Keeping the Shop Livable
A concrete slab is the standard floor for this kind of building, and it’s the right call. Pour it thick enough to handle the weight of a fully loaded motorhome. That usually means at least 5 to 6 inches with rebar or wire mesh, but your local soil conditions and the weight of your rig will determine what’s actually needed. Talk to a concrete contractor who knows your area.
Ventilation is a big one. If you’re welding, painting, or running a gas heater in the shop, you need fresh air moving through the building. Ridge vents, gable vents, and a couple of exhaust fans go a long way. Don’t seal the building up too tight thinking you’ll save on heating. Moisture will build up, and that’s bad for both your RV and your tools.
Speaking of temperature, insulating the shop side is worth the money if you plan to spend time in there during winter or summer. The RV bay doesn’t need to be climate controlled, but keeping it above freezing in cold climates protects your plumbing and batteries. A lot of people insulate the whole building and just heat the shop area with a unit heater.
What About Cost?
It’s hard to give a single number because prices swing wildly depending on where you live, what materials you choose, and whether you’re doing any of the work yourself. A basic metal building shell goes up faster and cheaper than a stick-built garage, which is one reason pole barns are so popular for this kind of project.
The biggest cost drivers are the concrete slab, the size of the building, and the doors. Tall overhead doors for the RV bay cost more than standard garage doors. Insulation, electrical, and plumbing add up quickly if you want a finished shop with lights, outlets, and a sink.
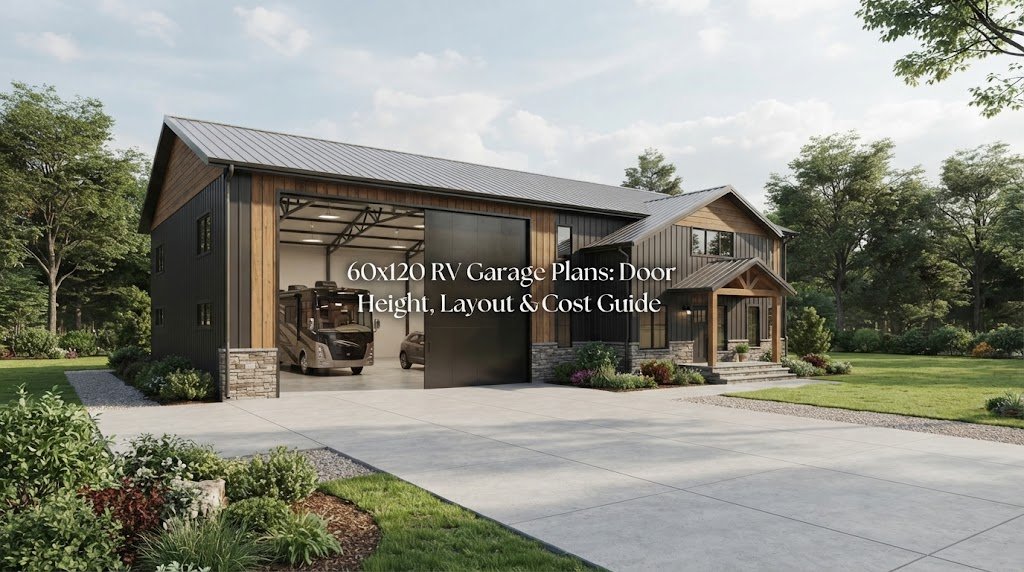
One tip: don’t cheap out on the foundation. A cracked or settling slab under a heavy motorhome is a very expensive problem to fix later.
Planning the Build
Before you order materials or call a contractor, check with your local building department about permits and setbacks. Some counties have strict rules about how close a large outbuilding can sit to your property line. Others require engineered plans for buildings over a certain size.
It also helps to sketch out your layout on paper or use a simple planning tool. Mark where the RV parks, where the workbench goes, where you want the doors and windows. Small changes on paper are free. Moving a concrete wall after it’s poured is not.
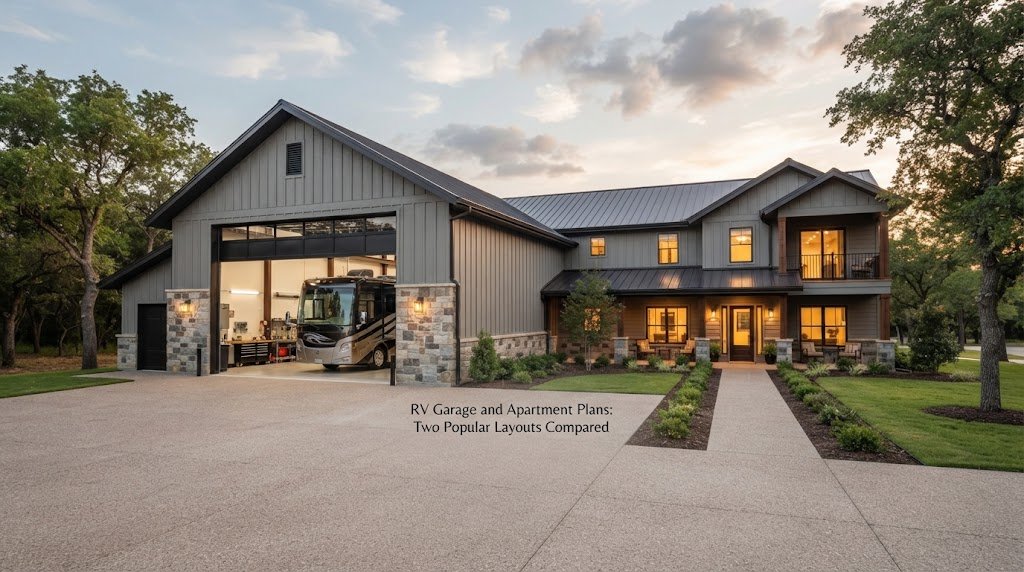
If you want a head start on the layout, looking through garage and workshop blueprints can give you a solid foundation to customize.

A Few Last Thoughts
Combining RV storage and a shop into one building is one of the smartest projects you can do if you have the land for it. You protect your investment in the RV, you get a workspace you’ll actually use, and you avoid the cost of building two separate structures down the road.
Take your time with the planning phase. Get the size right. Get the doors right. Make sure the layout works for how you actually live, not just how it looks on a screen.
When you’re ready to start putting real dimensions on paper, a good set of building plans will save you a lot of guesswork and help you communicate clearly with your builder.
And if you ever decide to add a small apartment or office above the shop for guests or remote work, checking out barndominium plans might open up some ideas you hadn’t considered yet.
Build it big enough the first time. You’ll thank yourself later.