
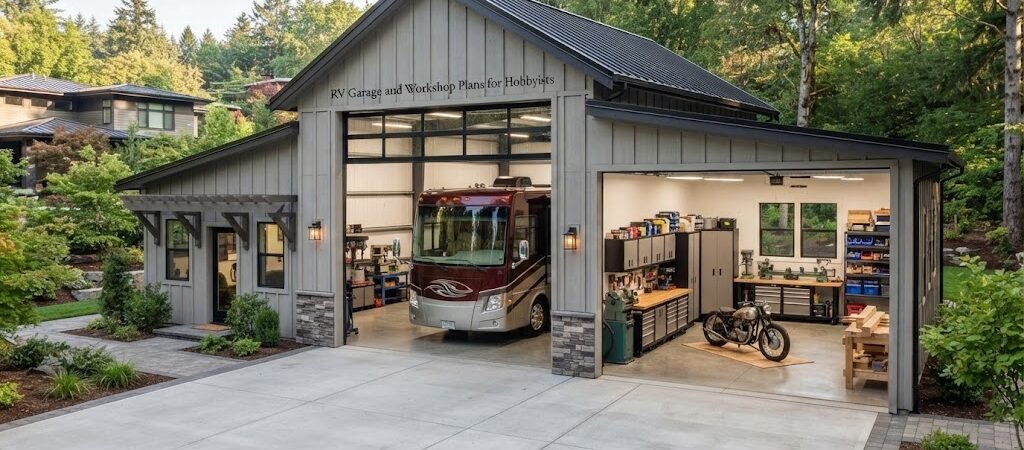
You love your RV. You also love your hobbies. Maybe you build furniture, restore small engines, or just need a quiet place to work on weekend projects. Putting both under one roof makes a lot of sense. It keeps your gear safe, gives you a dedicated space to tinker, and makes loading up for a trip a breeze.
But designing a building that fits a massive motorhome and a fully equipped shop takes some careful thought. You are not just building a shed. You are combining a very tall vehicle bay with a functional workspace.

Figuring Out the Right Size
Start with the RV. Class A motorhomes can be over 13 feet tall and 40 feet long. Even a smaller Class C or a big travel trailer needs serious clearance. You need at least two feet of extra height above the tallest part of your rig. This gives you room for roof vents, air conditioners, and satellite dishes.
Do not just guess the size. Go out to your driveway with a tape measure. Measure the exact height at the highest point. Measure the total length including the hitch.
Then look at the shop. A basic woodworking setup needs room for lumber storage, a workbench, and space to move around. If you are into metalworking or auto repair, you need even more room. You also need space to walk around your workbench with a sheet of plywood.
Combining these two needs means you are looking at a large footprint. A 40×50 or 50×60 building is a common starting point for this type of project. It gives you enough room to park the rig comfortably while leaving a solid 20×40 space for your tools and projects.
Choosing the Best Layout
You generally have two choices for the floor plan. You can put the RV bay and the workshop side by side, or you can put them front to back.
Side by side is usually the better choice for hobbyists. It lets you put the workshop on the side of the building that gets the best natural light. It also gives you a separate entry door for the shop. You will not have to walk through the RV parking space every time you want to work on a project.
Looking at different garage and workshop blueprints can help you visualize how to split the square footage so neither area feels cramped.
A front to back layout works if you have a narrow lot. You just have to make sure the building is deep enough to hold the RV and still leave room for your tools. If you go this route, put the shop in the very back. This keeps your tools away from the exhaust and dust created when you park the RV.
You can also add a lean-to on the side of the building. This is a cheap way to get extra covered storage for firewood, ATVs, or outdoor tools without expanding the main footprint.
Making the Shop Side Work for Your Hobby
When you mix a vehicle bay and a hobby shop, you have to think about air quality and cleanliness. You do not want sawdust, paint fumes, or welding smoke settling on your RV.
Build a solid framed wall between the two spaces. Add a standard walk door for easy access. If your hobby gets messy, set up a small dust collection system that vents outside. This keeps the RV side completely clean.
Power is another big factor. A standard electrical setup might not be enough if you are running a welder, a large air compressor, and shop vacs at the same time. Plan for a dedicated subpanel in the shop. Make sure you have 220-volt outlets for heavy machinery and plenty of 110-volt outlets spaced along the walls.
Lighting matters just as much as power. The RV bay just needs a few basic lights. The shop needs bright, shadow-free light. LED panel lights are relatively cheap, use very little power, and make the whole space feel open and safe.
Building Features That Make a Difference
The doors are the biggest physical feature of your new building. The RV side needs a massive overhead door, usually 14 or 16 feet wide and at least 14 to 16 feet tall. The workshop side can use a standard 8 or 9-foot tall garage door, or just a regular entry door if you bring your tools in through the house first.
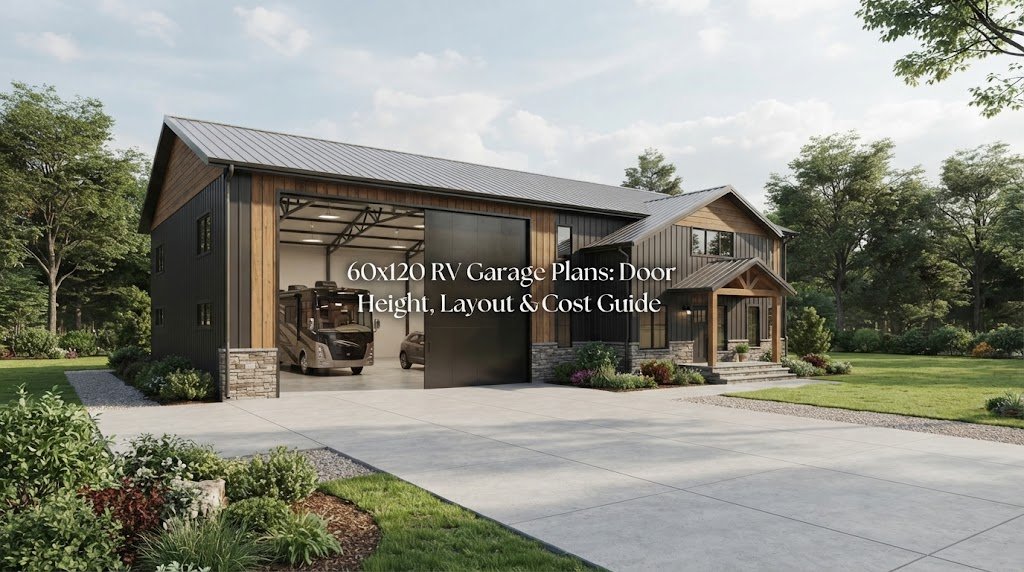
A 16-foot tall door catches a lot of wind. You need heavy-duty tracks and extra bracing around the framing to handle the stress.
For the overall structure, many people choose a post frame building. Reviewing some standard pole barn plans can show you how to frame those large door openings and support the extra roof height needed for the RV.
Insulation is another big factor. If you live in a place with cold winters or hot summers, insulating the shop wall and the ceiling makes a huge difference. It keeps your workspace comfortable and helps regulate the temperature around your RV. You can leave the RV bay uninsulated to save money, but make sure the shared wall is well sealed.
Planning the Build and Checking Local Rules
Before you buy materials, you need to check your local building codes. RV garages often trigger special rules because of their height. Some neighborhoods or counties have strict height limits for accessory buildings. You might need a special variance if your roof peak goes over a certain point.
Talk to your local zoning office early in the process. Tell them exactly how tall the building will be and what you plan to use it for.
You also need to think about site prep. A building this size needs a solid, level base. A thick concrete slab is usually the best choice, especially if you plan to roll heavy tool chests or a vehicle lift in the shop area. Make sure you include a vapor barrier under the concrete and thicken the edges for extra support. If you want a clean, easy-to-sweep floor, plan to coat the shop side with epoxy after the concrete cures.
Taking the time to look over a comprehensive building plan collection will help you make sure your design meets local requirements and fits your property perfectly.

Wrapping Up the Project
Building a combined RV garage and workshop is a big project, but it pays off every time you step inside. You get to protect your investment and enjoy your hobbies in a space built exactly the way you want it. Take your time with the design, measure your rig carefully, and plan for the future.
If you are ready to start sketching out your ideas, browsing through some detailed shed and workshop plans is a great way to figure out the exact layout that will work for your space.