
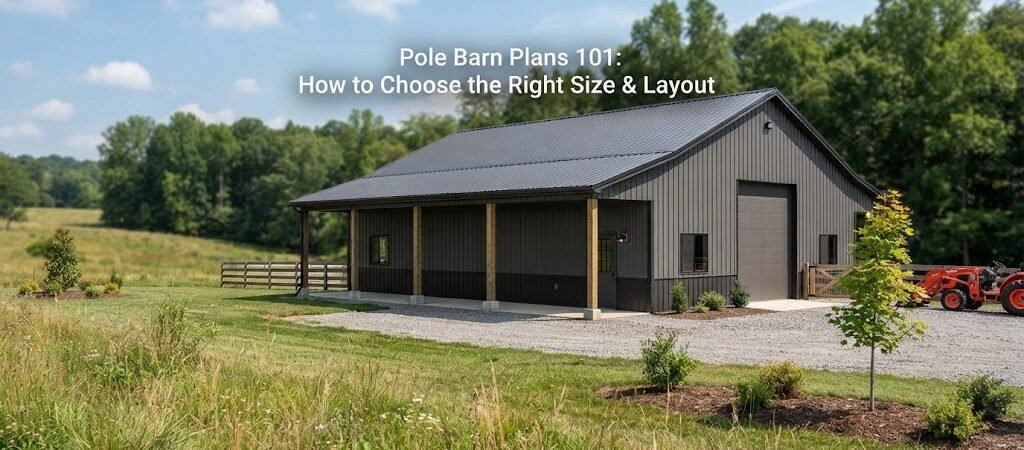
Pole barns look simple on the outside, but the plan is where you either win or regret it for the next 20 years. If the building’s too small, you’ll be playing Tetris with tractors and trailers. If it’s too big or laid out wrong, you’ll pay for space you never use and still feel cramped where it matters.
This guide is about picking a pole barn size and layout that fits what you actually do on your property, not what looks nice on paper.
Start with what the building has to do
Before you think about square footage, list the jobs the building needs to handle. Be honest, and think a few years ahead.
Common uses:
- Equipment storage (tractors, skid steer, mower, implements)
- Vehicle parking (cars, trucks, boat, RV)
- Workshop space (workbench, tool storage, welding, woodworking)
- Hay or feed storage
- Livestock or stalls
- A mix of storage and finished space (office, hobby room, future apartment)
If you’re still in the “I want a barn and I’ll figure it out later” stage, spend 15 minutes looking through different pole barn plans. Seeing real layouts will help you put names to what you want.

Choosing the right size: think in “zones,” not just dimensions
A good pole barn layout is usually made of zones. Each zone needs its own width, depth, and access.
Zone 1: Parking and equipment bays
Measure your largest item first. That might be a truck with a plow, a tractor with a loader, or a trailer. Don’t forget the attachments.
A few practical tips:
- Leave room to open doors and walk around. If you park vehicles tight, you’ll hate it.
- Plan space to pull in and back out without doing a 12-point turn.
- If you’ll store implements, they take floor space even when the tractor isn’t there.
If you store a vehicle and a mower in the same bay, make sure there’s room to move one without unloading everything else.
Zone 2: The workshop area
Work space disappears fast. A workbench, tool chest, vise, weld table, air compressor, and parts shelving can eat an entire wall.
Think about:
- One long wall for benches and cabinets
- Open floor space for projects (small engine, ATV, furniture, whatever you do)
- A corner for loud or dusty tools (miter saw, grinder, compressor)
If you want the building to be both parking and workspace, it’s worth browsing garage and workshop plans to see how others separate clean parking areas from messy work areas.
Zone 3: Storage that stays put
This is your “stuff that doesn’t move every week” area: seasonal tools, totes, spare parts, hay, feed, or household overflow. It’s usually best on the back wall or in a dedicated room so it doesn’t creep into your work zone.
A loft (if your plan and structure allow it) can help, but be careful. Loft storage sounds great until you realize you’re carrying heavy things up a ladder.
Pick a layout style that matches how you move
This is where a lot of pole barn plans go wrong. People plan for storage, but they don’t plan for traffic.
Straight-through drive (best for trailers)
If you pull trailers or long equipment, a drive-through layout is hard to beat. Doors on opposite ends let you pull in and out without backing, if your site allows it.
Watch for:
- Enough door width and height
- Clear interior path with no posts in the way (post spacing matters)
- Good drainage and grade at both entrances
Side-load layout (best when the driveway runs along the long wall)
If your driveway, lane, or yard access runs along one side, multiple overhead doors along the eave side can be convenient. You can put parking bays up front and workshop/storage behind.
This is also a nice layout when you want to add a lean-to later.
Split-use layout (best for “half shop, half storage”)
A common practical plan is:
- One side: tall door, open space for equipment
- Other side: insulated workshop with regular entry door and windows
- Back: storage room, tack room, or mechanical closet
It keeps the dirty stuff separate and makes the shop easier to heat and cool.
Door placement: plan it early, not after the fact
Doors aren’t just openings. They decide how the whole building works.
Overhead doors vs sliding doors
Overhead doors are popular for good reason. They seal better, work well in snow, and you can automate them. Sliding doors can be great for large openings and simpler hardware, but they need wall space to slide and they don’t always seal as tight.
Either way, plan for:
- Headroom for door tracks (overhead doors)
- Clear wall space (sliders)
- Exterior clearance, like roof overhangs, gutters, and downspouts
Don’t forget people doors
At least one walk door near the parking area saves you from opening a big door every time you need a shovel. If you’ll use the workshop a lot, a walk door near the shop zone is a must.
Also consider where you’ll carry things. If you’re hauling tools from the house, put the walk door on the side that faces the house.
Wall height and roof style: size isn’t only width and length
A pole barn that’s “big enough” on paper can still be useless if it’s too short inside.
Wall height
Wall height affects:
- Door height (especially for RVs, tractors with cabs, or skid steers)
- Loft potential
- Overhead storage
- How open the interior feels
If you think you might ever own a taller rig, plan for it now. Raising wall height later isn’t a simple remodel.
Trusses, pitch, and overhead clearance
Roof pitch and truss design change what you can do inside. Some trusses allow attic storage or finished space. Others are designed strictly for open spans.
If you’re considering living space, even if it’s “maybe someday,” start looking at barndominium plans. The structure and layout needs are different when plumbing, insulation, windows, and room layouts enter the picture.
Inside layout details that save headaches later
These are the small choices that make the building feel “easy” to use.
Put the mess where it’s easiest to clean
If your shop includes grinding, welding, or wood cutting, consider a dedicated corner or room. It helps keep vehicles cleaner and reduces clutter.
A simple divider wall can separate:
- Clean storage or parking
- Dirty shop work
- A small office or heated room
Lighting and outlets affect layout
Even if you’re not finishing the inside, you should still plan where your workbench will go and where you’ll need power. Nobody wants extension cords across the floor.
General layout thinking:
- Outlets along the bench wall
- Ceiling outlets for garage door openers or retractable cord reels
- Bright lighting over work zones, not just the center of the building
Plan a “drop zone”
A 4-foot strip of wall with hooks, shelves, and space for boots and coats keeps the rest of the building cleaner. It’s a small thing that makes a big difference if you’re in and out daily.
Site and future expansion: don’t design in a vacuum
Pole barns live on real property with slopes, snow, wind, mud, and awkward driveways.
Check access and turning room
Your layout should match how you’ll approach the building:
- Can you line up straight to back in a trailer?
- Will snow banks pile up in front of your main door?
- Can a delivery truck reach the spot if you’re bringing in materials later?
Leave a “clean” side for an addition
If you might expand, try to keep one long side free of obstacles like septic, wells, overhead power, or tight property lines. It’s a lot easier to add a bay later if the site allows it.
Also think about roof overhangs and how an addition would tie in. Planning for it now can keep the future project simpler.
A quick way to sanity-check your pole barn plan
Before you commit, do this simple test:
- Sketch the interior as a grid (even on graph paper).
- Draw rectangles for your vehicles and equipment using real measurements.
- Add space to open doors and walk around.
- Add your workbench, shelves, and tool areas.
- Draw your door openings and show how you’ll drive in, park, and get back out.
If the drawing feels tight, it’s tight. Paper is generous. Real life isn’t.
If you want an easier starting point, comparing a few pole barn plan collections can give you proven layouts you can tweak instead of inventing one from scratch.
Common size and layout mistakes (and how to avoid them)
“I’ll just park tighter”
You won’t. Or you’ll do it for a month and then the building becomes a clutter trap. Give yourself lanes and walk space.
Too many uses in one open room
Open floor plans are flexible, but mixing every use together gets messy fast. A small storage room or partition can keep the building usable.
Doors placed where you can’t use them
A door facing the wrong direction can become a snow drift collector or a mud pit. Match door placement to the driveway, grade, and typical wind and weather for your area.
Not planning for insulation and heat
Even if you won’t insulate right away, plan for it. Interior liners, vapor barriers, and future wall finishes all take space and affect how you run wiring and place windows.
Closing thoughts (and a smart next step)
Picking the right pole barn size and layout is really about how you’ll move through it: where you’ll park, where you’ll work, where you’ll store, and how you’ll get in and out without moving five things first. If you nail that, the rest of the decisions get easier.
If you’re ready to start comparing real footprints and interior layouts, spend some time with our pole barn plans. Even if you don’t copy one exactly, you’ll quickly learn what works, what doesn’t, and what size fits your property and your projects.