
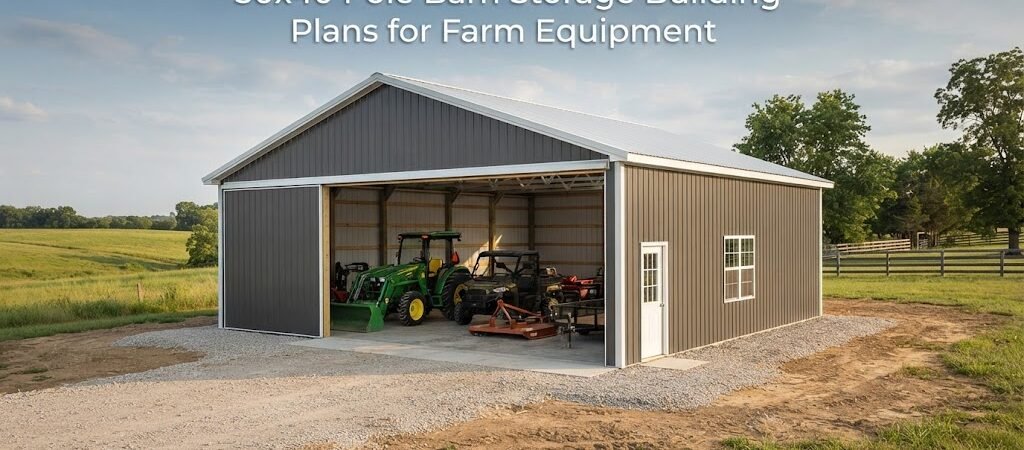
If you’ve got tractors, combines, hay equipment, or a mix of trucks and trailers sitting outside year-round, you already know what weather does to them. Rust creeps in, tires crack, seals dry out, and repair bills pile up faster than they should. A 30×40 pole barn hits a sweet spot for a lot of farms and small acreages. It’s big enough to store several pieces of equipment plus tools and supplies, but it doesn’t cost as much or take up as much land as some of the bigger buildings out there.
This size works well because it’s flexible. You can set it up as one open bay for pulling equipment straight through, or split it into sections for machinery, tools, and a small workspace. Before settling on a final layout, it helps to look through different pole barn plans to see how other builders have divided similar square footage.

Why 30×40 Works for Farm Storage
A 30×40 building gives you 1,200 square feet of covered space. That’s usually enough room for a couple of tractors, an ATV or side-by-side, a truck, and still leave space for tool benches or shelving along one wall. It’s also a manageable size for a smaller farm that doesn’t need a massive equipment shed but still wants everything protected from sun, rain, and snow.
Compared to a 24×30 or 24×36 barn, the extra width and length in a 30×40 gives you room to actually move around equipment instead of shuffling things every time you need to pull something out. Compared to a 40×60 or larger building, it’s easier on the budget and doesn’t require as much site prep or concrete.
Planning the Layout
Before you start cutting posts or pouring concrete, it’s worth spending real time on the floor plan. Farm equipment isn’t like cars parked in a garage. Tractors, mowers, and attachments come in odd shapes and sizes, and you need clearance to maneuver them in and out without scraping doors or walls.
Open Bay vs. Divided Space
Some owners want one big open bay with nothing but posts breaking up the floor. This gives maximum flexibility for parking equipment of different sizes and shapes. Others prefer splitting the barn into two or three sections, maybe one side for machinery and the other for a workshop or storage room. If you think you might use part of the building as a workspace down the road, checking out garage and workshop blueprints can give you some ideas for how to divide the interior without losing storage capacity.
Door Placement and Sizing
Door size matters more than people expect. A standard 10×10 or 12×12 sliding or overhead door might be fine for trucks and smaller tractors, but larger equipment with loaders or attached implements often needs more clearance. Measure your tallest and widest equipment with any attachments raised or extended, then add a few extra feet of buffer. It’s a lot cheaper to size the door right the first time than to modify it later.
Placing a smaller walk-in door near a workbench area also saves wear and tear on the big doors when you just need to grab a tool.
Structural Basics to Know
Pole barns get their name from the post-frame construction method, where large posts are set into the ground or on top of concrete piers and support the roof and walls directly. This is different from traditional stick-built framing and tends to be faster to build and often more affordable for large open spans like equipment storage.
Post Spacing and Roof Style
Most 30×40 barns use posts spaced somewhere between 8 and 12 feet apart, though exact spacing depends on your design, snow loads, and wind exposure in your area. A local contractor or engineer familiar with your region’s requirements can help nail down the right spacing and post size for your specific site.
Gable roofs are common for equipment barns because they shed water and snow well and allow for higher sidewalls or a loft area if you want extra storage above. Roof pitch is usually a design choice based on climate and appearance, but steeper pitches handle heavy snow loads better in northern regions.
Concrete Floor or Gravel
A lot of farm equipment barns use a concrete slab because it’s easier to keep clean, holds up better under jack stands and heavy machinery, and doesn’t turn to mud in wet weather. Gravel floors are cheaper upfront and still common in barns used purely for parking equipment that doesn’t need a clean work surface. Your choice here often comes down to budget and how you plan to use the space long term.
Sizing for Your Equipment
Before finalizing plans, walk through your current equipment list and measure everything, including height with any cab or antenna, width with mirrors or attachments, and length including any hitched implements. Add clearance for turning and walking around equipment safely. It’s common for people to build a barn sized for what they own today, only to realize a few years later that a bigger tractor or another trailer doesn’t quite fit. If there’s any chance you’ll upgrade equipment or add another vehicle, it doesn’t hurt to plan slightly larger doors or an extra few feet of depth if your budget and lot allow it.

Insulation and Ventilation Considerations
Farm equipment doesn’t need climate control the way living space does, but insulation and ventilation still matter. Insulating the roof, in particular, helps cut down on condensation dripping onto equipment below, which can cause rust over time. Ridge vents or gable vents help keep air moving and reduce moisture buildup, especially in barns without heating or cooling.
If you plan to use part of the building as a workshop where you’ll spend time working on equipment, insulating the walls too can make a real difference in comfort, especially in colder months.
Site Prep and Local Requirements
Every property is different when it comes to soil conditions, drainage, and local building requirements. Some areas require permits for structures of this size, and some have setback rules about how close a barn can sit to property lines or existing structures. It’s worth checking with your local building department before you finalize plans, since requirements vary a lot from one county or state to another.
Good site prep also means thinking about drainage. Equipment barns see a lot of vehicle traffic in and out, so grading the site to keep water moving away from the building helps protect both the structure and whatever you’re driving in and out of it.
Budgeting Realistically
Costs for a 30×40 pole barn vary widely based on materials, region, labor rates, and finish level. A bare-bones shell with no concrete or electrical will cost less than a fully finished barn with a poured floor, insulation, and wiring for lights and outlets. Getting a few quotes from local builders, along with pricing out materials if you’re doing some of the work yourself, will give you a much clearer picture than any general estimate could.
Bringing It All Together
A 30×40 pole barn can solve a lot of headaches for farms dealing with equipment storage, but the layout, door sizing, and structural details all need to match how you actually use your equipment. Taking time upfront to plan doors, spacing, and floor type will save you from costly changes later.
If you’re still working through the details, browsing a full pole barn plan collection is a good next step. Seeing complete layouts, material lists, and dimensions side by side can help you figure out exactly what fits your equipment, your budget, and your land.