
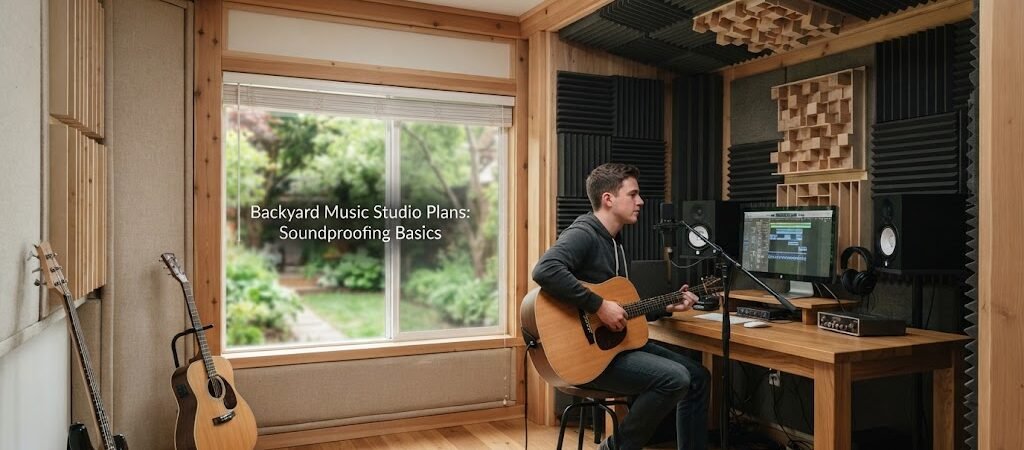
Backyard Music Studio Plans: Soundproofing Basics
Building a backyard music studio is a dream for many musicians and producers. You get your own space to make noise without bothering anyone inside the main house. But a standard backyard office plan will not cut it if you want to keep the sound inside. Soundproofing a detached workspace takes specific planning, extra materials, and a good understanding of how sound travels.
The secret to a good backyard music studio is stopping sound waves before they escape. Sound travels through the air and through solid structures. To keep your neighbors happy and your recordings clean, you need to block both paths.

Soundproofing Versus Acoustic Treatment
People often mix these two up. Acoustic treatment uses foam panels and bass traps to make the room sound good on the inside. It stops echoes and harsh reflections. Soundproofing is completely different. It keeps sound from leaving or entering the room. You need heavy mass and separated layers to soundproof. Foam will not stop your drum kit from waking up the neighborhood.
Building Heavy and Separated Walls
Standard backyard office walls usually have just one layer of drywall on each side of the wood studs. That is fine for a quiet workspace, but it lets bass frequencies pass right through.
To fix this, you need to add mass. Add a second layer of drywall to the interior walls. You can also use specialized soundproof drywall, which has a damping layer built in.
You also need to separate the layers. This is called decoupling. If both sides of the drywall touch the same wood stud, the vibration travels right through the wood. You can use staggered studs or add resilient channels. These are thin metal rails that attach to the studs and hold the drywall. The metal bends slightly and stops vibrations from moving into the main frame.
Fill the wall cavities with dense insulation. Rockwool is a favorite for music studios because it is heavy and absorbs sound really well.
Floors and Ceilings
Do not forget the floor and ceiling. Sound will easily travel down into the ground or up through the roof.
For the floor, build a floating floor. Lay down a thick rubber underlayment over your subfloor. Then add your final flooring on top. This rubber layer stops low bass vibrations from shaking the whole structure.
The ceiling needs the same treatment. Use resilient channels on the ceiling joists before hanging the drywall. Make sure the ceiling insulation is packed in tightly without any gaps.
Sealing the Weak Links
Sound acts like water. If there is a tiny hole, it will leak through. Doors and windows are the weakest points in any backyard studio.
Standard sliding glass doors or thin windows will ruin your soundproofing. Look for acoustic windows with thick glass and wide air gaps between the panes. If you need a window for natural light, make sure it is heavy and well-sealed.
Your door needs to be a solid core exterior door. Hollow core doors are basically just empty boxes that let sound right through. Add heavy weatherstripping around the door frame and an automatic door bottom to seal the gap at the floor.
Quiet Heating and Cooling
A backyard office needs heating and cooling to be usable year-round. A ductless mini-split system is usually the best choice. But you need to pick a quiet model.
When you cut a hole in your wall for the lineset, seal it completely with acoustic sealant. Do not use standard expanding foam, as it hardens and can transmit vibrations. The acoustic sealant stays flexible and blocks sound.
Planning Electrical for Gear
Music studios need a lot of power. Amplifiers, computers, monitors, and lighting draw a lot of electricity. Plan your electrical layout early. Put outlets on different circuits if possible to avoid humming and interference. Keep power lines away from audio cables inside the walls. Always hire a licensed electrician to run the trench from your main house to the backyard studio.
Room Size and Shape
The size of your backyard office matters for sound. Avoid building a perfect cube. If the length, width, and height are the exact same, sound waves bounce back and forth and create dead spots.
Aim for a rectangular shape. A 10 by 12 foot or 12 by 16 foot footprint works well for a single-person studio. This gives you enough room for your desk, your instruments, and some basic acoustic treatment without making the room too small for bass to develop properly.
Thinking About Future Uses
You might want a loud music studio now, but your needs could change in a few years. Designing a flexible detached space means thinking about how the building can adapt.
If you want a backyard structure that could easily transition from a loud music studio to a quiet guest retreat or a relaxation space, comparing pool house and cabana planscan give you great ideas for flexible, multipurpose layouts. These designs often focus on good insulation and nice finishes that work for any purpose.
You might also want a creative space that feels more like a nature retreat. A cabin plans collection can offer cozy, well-insulated shell designs that look great in a backyard setting and provide a solid base for your soundproofing layers.
Checking Local Rules
Before you start building, check your local zoning laws and building codes. Detached structures often have rules about how close they can sit to the property line. This is called the setback. Soundproofing adds thickness to your walls, which might push your exterior boundary closer to the neighbor. Always get the right permits before pouring your foundation.
Building a backyard music studio takes more work than a standard outdoor office. You have to plan for heavy walls, sealed doors, and quiet climate control. But the payoff is huge. You get a dedicated creative space where you can play as loud as you want, any time of day.
If you think your backyard music studio might eventually need a bathroom or a small sleeping area for guests, an ADU and small home blueprint guide can help you plan for those extra utilities and living spaces from day one.