
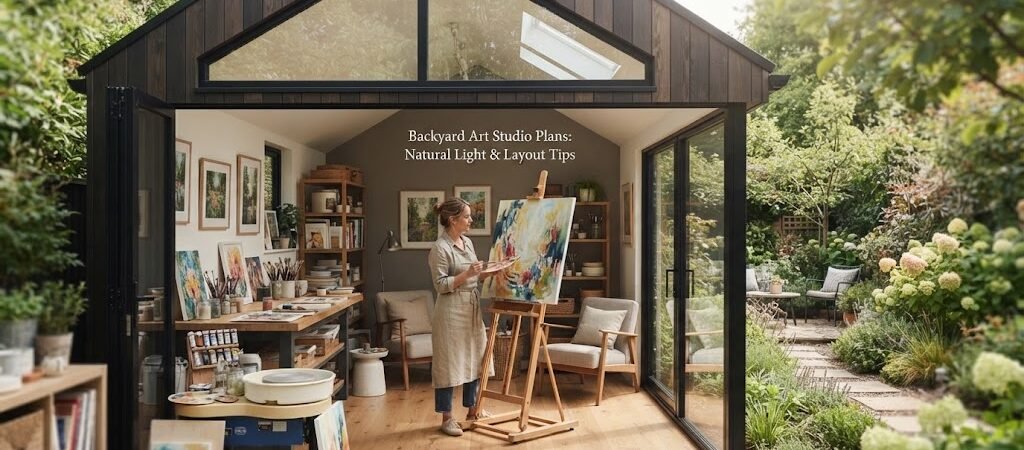
Backyard Art Studio Plans: Natural Light & Layout Tips
Building a backyard art studio gives you a dedicated space to create without taking over your dining room or spare bedroom. But a basic shed with a desk is not enough. A true studio needs the right light and a smart floor plan. The secret to a great backyard workspace is balancing natural light with functional zones.
To get the best natural light, face your main windows north. North light provides a steady, even glow that does not change much during the day. For the layout, divide your space into three clear zones. Keep your wet area with the sink away from your dry work area. Put your storage on the walls that get the least amount of light.

Sizing Your Backyard Studio
How much space do you actually need? A 10 by 12 foot or 12 by 16 foot footprint is usually the sweet spot for a solo artist. This size gives you room for a large worktable, plenty of shelving, and a comfortable walking path. You want to be able to step back and look at your work without hitting a wall.
Do not build too big if you only need a small desk, but do not cram your easel into a tiny 6 by 8 foot shed. Measure your largest equipment first and build outward from there.
Mastering Natural Light and Window Placement
Light makes or breaks an art studio. As mentioned, north facing windows are the gold standard for painters and drafters because the light stays consistent.
If your yard layout forces you to use south facing windows, you will need to manage the glare. The harsh afternoon sun can wash out your colors and create harsh shadows. Use sheer curtains, frosted glass, or exterior awnings to diffuse the light.
East and west facing windows give you beautiful morning or evening light, but the sun angle changes quickly.
Do not forget about the roof. Skylights are a fantastic option if your wall space is covered in shelving. Just place them carefully. You want the light to wash across the room, not shine directly down onto your work surface and create a bright hotspot.
Smart Layouts for Creative Work
A good layout keeps you moving smoothly through your creative process. Think of your studio in three distinct zones.
The Wet Zone
If you use watercolors, acrylics, or clay, you need a sink. Put the sink on an exterior wall to make plumbing much easier to install. Keep this area away from your main desk. You do not want water splashing onto your paper or electronics. Include a drying rack right next to the sink.
The Dry Zone
This is your main desk, drafting table, or easel area. Place this in the best natural light you have. Make sure you have enough space to pull your chair back and move around freely. Add adjustable task lighting here for those late night projects.
The Storage Zone
Art supplies take up a lot of room. Use vertical space to keep the floor clear. Build floor to ceiling shelves on the darker walls. Use rolling carts for supplies you need to move around. A good layout keeps your materials visible but out of your physical workspace.
Planning for Flexibility and Future Use
Your needs might change over time. Today you need a painting studio, but tomorrow you might want a space to host out of town guests or a quiet backyard retreat.
If you think your backyard studio might eventually need to serve more than one purpose, comparing your ideas with pool house and cabana plans can give you great inspiration for flexible layouts. These designs often show how to mix open workspace with private, multipurpose areas.
You might also decide to add a small bathroom or a kitchenette to your studio. Once you add those living essentials, your project crosses into accessory dwelling unit territory. An ADU and small home blueprint guide will help you navigate the plumbing, layout rules, and design considerations for adding a bathroom to a detached building.
Insulation, Power, and Comfort
You want to use your studio year round. Standard shed walls are not enough. Frame your walls with standard lumber and add proper insulation. This keeps the space warm in the winter and cool in the summer, which also protects your art supplies from extreme temperature swings.
Electrical planning is just as important. You will need plenty of outlets. Plan for general overhead lighting, dedicated task lighting at your desk, and extra outlets for tools, computers, or a mini split heating and cooling system. If you use a kiln or heavy power tools, you might need a dedicated electrical circuit. Always hire a licensed electrician to wire your detached office.
Site Placement and Foundation
Where you put the studio in your yard matters just as much as the floor plan. Walk your property and watch the sun path. Do not put your main windows facing a tall fence, a garage wall, or a large tree that blocks the light.
For the foundation, a concrete slab is usually the best choice for an art studio. It provides a flat, solid surface for heavy worktables and makes installing a sink much easier. If your yard is sloped or has poor drainage, a pier and beam foundation might work better.
Before you start digging, check your local setback rules and permit requirements. Every town has different rules about how close you can build to your property line.

Bringing It All Together
A well planned backyard art studio changes how you work. It gives you a quiet, inspiring place to focus on your craft. Take your time with the floor plan. Think about how the light moves across your yard and how you actually work.
If you are ready to start sketching out your ideas, make sure you account for both your creative needs and the physical limits of your property. For more ideas on designing detached structures that fit perfectly into your yard, browsing a home plan collection can help you visualize the big picture and get your project started on the right foot.