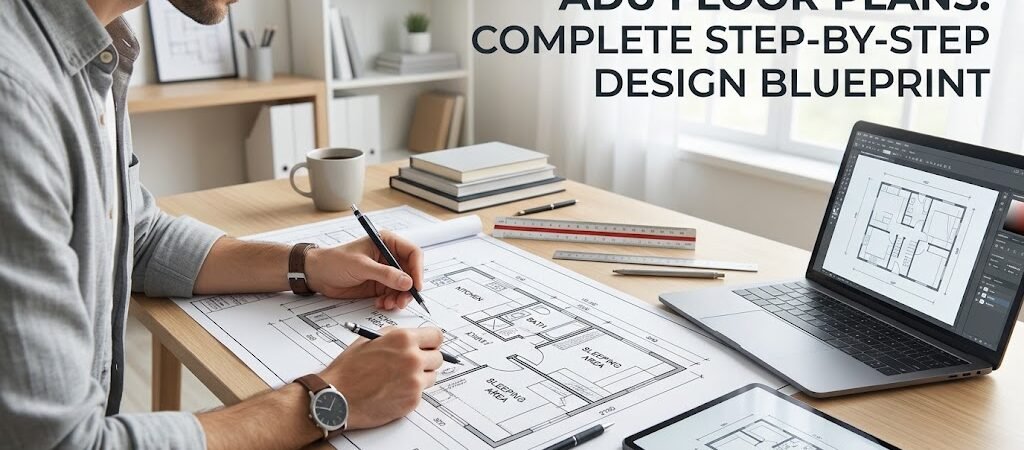
ADU floor plans that truly work balance code compliance, natural light, and efficient square footage—typically between 400 and 1,200 sq ft. Start by defining your unit’s purpose, then follow a proven seven-step design process that covers layout, zoning, plumbing walls, and material selection before you break ground.
“`
Why Do Most ADU Floor Plans Fail Before Construction Starts?
You’ve probably seen stunning ADU renderings online—open-concept studios with floor-to-ceiling glass, chef’s kitchens, and spa bathrooms. Then you look at your own lot and wonder why the same plan won’t work. The gap between Pinterest inspiration and buildable reality is usually a missing step in the floor plan process.
Many first-time ADU builders skip the layout validation phase. They select a plan, receive a quote, and discover three weeks into permitting that the driveway apron blocks the required 5-foot side yard or that the plumbing wall runs perpendicular to the existing house, tripling rough-in costs. These aren’t design problems—they’re process problems.
The good news is that a methodical approach to ADU floor plans eliminates 90% of these surprises. You don’t need an architect on speed dial. You need a repeatable framework that forces you to answer the right questions before committing to a single wall location.
This guide gives you that framework. Every step builds on the last, and each one includes real dimensions, cost ranges, and decision points that most blog posts skip entirely.
Step 1: Define Your ADU’s Purpose and Occupancy Profile
Before you draw a single wall, answer this question: who lives in this unit and for how long? The answer determines everything from bedroom count to ceiling height requirements.
A mother-in-law unit needs a walk-in closet, a grab-bar-ready bathroom, and a main-floor bedroom. A rental studio targeting young professionals prioritizes storage density and a full kitchen over accessibility features. A home office conversion requires electrical capacity for multiple workstations and sound isolation—not a kitchen at all.
Here’s a quick reference for common ADU occupancy profiles and their space requirements:
| Occupancy Type |
Typical Size |
Bedrooms |
Key Requirements |
| Studio rental |
400–600 sq ft |
0 |
Full kitchen, efficient storage |
| 1-bedroom parent suite |
600–900 sq ft |
1 |
Accessible bathroom, main-floor bedroom |
| 2-bedroom family unit |
900–1,200 sq ft |
2 |
Separate living/sleeping zones |
| Home office + guest |
400–700 sq ft |
0–1 (flex) |
Sound isolation, high-speed wiring |
Your occupancy profile also affects financing and tax treatment. The IRS treats rental ADUs differently from family-use units regarding depreciation schedules and deduction eligibility. Check
IRS guidelines on residential rental property before finalizing your plan.
Step 2: What Lot Constraints Should You Map Before Drawing Anything?
ADU floor plans are only as good as the lot they sit on. A beautiful 800-square-foot layout becomes unusable if your zoning code requires a 5-foot side yard and your lot only has 4 feet of clearance between the existing house and the property line.
Start by pulling your property survey and zoning map from your local building department. Note these five measurements:
- Setback requirements: Front, rear, and side yard minimums vary by municipality. In Los Angeles, for example, rear yard setbacks for ADUs can be as low as 4 feet in some zones.
- Height limits: Most jurisdictions cap ADUs at 16 feet for a single-story build. Two-story units often require a separate discretionary review.
- Lot coverage limits: Some zones limit the total impervious surface to 50% of the lot. A 1,000-sq-ft ADU on a 6,000-sq-ft lot already covers 16.7%.
- Parking requirements: Many cities now waive ADU parking mandates, but not all. Confirm yours before designing a unit with a garage underneath.
- Utility access points: The distance from your main house’s plumbing stack and electrical panel to the ADU site dramatically affects construction cost.
Draw a simple scale diagram on graph paper — ¼ inch equals 1 foot works well. Sketch the existing house, property lines, setbacks, and utility connections. Then place a rectangle representing your desired ADU size and see what fits. This 20-minute exercise will save you thousands in redesign fees later.
Step 3: How Do You Choose Your Floor Plan Type?
ADU floor plans fall into four structural categories, each with distinct cost and space implications. Your lot constraints and occupancy profile from Steps 1 and 2 will narrow this down to one or two options.
| Floor Plan Type |
Best For |
Typical Cost/Sq Ft |
Space Efficiency |
| Detached backyard unit |
Lots with 2,000+ sq ft side/yards |
$250–$400 |
High — full design freedom |
| Attached garage conversion |
Existing 1-car+ garages |
$175–$275 |
Moderate — constrained by existing footprint |
| Interior basement/unit |
Existing finished basements |
$150–$250 |
Variable — depends on ceiling height |
| Second-story addition |
Single-story homes with strong foundations |
$275–$450 |
Low — requires structural reinforcement |
Detached units offer the most flexible ADU floor plans because you’re not working around existing walls or load-bearing structures. But they also require new foundation work, utility trenching, and exterior cladding—which pushes costs toward the higher end of the range.
Garage conversions are the budget-friendly shortcut. The shell exists. You’re mainly dealing with insulation, windows, and interior finish. But the floor plan is locked to the garage’s existing footprint unless you expand outward, which triggers setback and permitting complications.
Step 4: How to Design the Core Layout Using the 60-30-10 Rule
Every efficient ADU floor plan follows a predictable spatial hierarchy, regardless of style or size. The 60-30-10 rule gives you a starting point that you can then customize.
60% of the space is the living zone. This combines the kitchen, dining, and living areas into one open space. In a 600-sq-ft ADU, that’s roughly 360 square feet—a rectangle about 18 by 20 feet. This is where you’ll spend most of your time, so natural light and ceiling height matter more here than anywhere else.
30% is the private zone. The bedroom and bathroom claim this portion. In the same 600-sq-ft unit, that’s about 180 square feet—a 10 by 12-foot bedroom and a 5 by 8-foot bathroom. Keep the bathroom adjacent to the bedroom for plumbing efficiency. A shared wall between the two units cuts rough-in costs by 40% compared to stacked-but-separated layouts.
10% is circulation and storage. Hallways, closets, and the entryway. This is often overlooked in ADU floor plans. Designers should allocate at least 80 square feet for circulation in a 600-sq-ft unit to avoid cramped spaces.
Place the kitchen against an exterior wall whenever possible to enhance daylight and free up interior wall space for cabinets.
Step 5: How Should You Position Plumbing Walls for Maximum Efficiency?
Plumbing is the single biggest cost driver in ADU floor plans after the foundation. Smart placement of wet walls can save you $8,000 to $15,000 on a mid-size unit.
The golden rule: stack the bathroom and kitchen on the same structural wall whenever your layout allows it. This saves plumbing costs with a single plumbing chase serving both spaces.
Consider this common ADU floor plan layout for a 700-sq-ft detached unit:
- Left side (14 × 18 ft): Open kitchen-living-dining area with the kitchen running along the shared wall with the main house.
- Right side (10 × 14 ft): Bedroom with a closet, adjacent to a 5 × 8 ft bathroom on the same wall plane.
- Entry: 4-foot hallway with a coat closet and washer-dryer stack.
Step 6: How Can You Optimize for Natural Light and Ventilation?
Small ADU floor plans feel cramped not because of square footage but because they feel dark. Natural light is a powerful design tool for making a 500-sq-ft unit feel like 800. Every window placement decision should answer: does this opening bring daylight into the living zone?
Minimum window-to-floor ratio for habitable rooms is 8% of the room’s floor area per most building codes. A 150-sq-ft bedroom needs at least 12 square feet of window glass. A 240-sq-ft living area needs 19.2 square feet.
To enhance natural light:
- Place windows high on the wall (clerestory style) to maximize natural light while preserving privacy and wall space for furniture.
- Use opposite-wall window placement for cross-ventilation.
- Consider a skylight over the bathroom if the roof pitch allows it.
- Avoid placing windows directly opposite a solid wall to prevent closed-in feelings.
Step 7: How to Validate Your Plan Against Local Code Before Finalizing
An ADU floor plan that looks perfect on paper can fail at permitting if it doesn’t meet local code requirements. These vary significantly, but every valid ADU plan must address:
- Ceiling height: Minimum 7 feet for 50% of the unit’s floor area.
- Egress windows: Every bedroom needs an emergency egress window with specific dimensions.
- Fire separation: Attached ADUs require a 1-hour fire-rated wall where the unit connects to the main house.
- Energy compliance: All ADUs must meet current energy standards.
- Accessibility: Many jurisdictions require at least one accessible bathroom and doorway in new ADU constructions.
Before you submit your plans for permit review, run them through your local building department’s pre-application checklist. Many cities offer free plan review sessions.
ADU Floor Plan Costs by Size and Complexity
Understanding what your ADU floor plans will actually cost to build helps you make smarter design trade-offs. Here’s a breakdown based on current 2024–2025 construction data across major U.S. markets:
| ADU Size |
Basic Build |
Mid-Range Finish |
Premium Finish |
| 400 sq ft (studio) |
$80,000–$120,000 |
$120,000–$160,000 |
$160,000–$220,000 |
| 600 sq ft (1-bed) |
$120,000–$180,000 |
$180,000–$240,000 |
$240,000–$320,000 |
| 900 sq ft (2-bed) |
$180,000–$270,000 |
$270,000–$360,000 |
$360,000–$480,000 |
| 1,200 sq ft (2-bed + den) |
$240,000–$360,000 |
$360,000–$480,000 |
$480,000–$640,000 |
These ranges assume standard construction materials and moderate fee structures. High-cost markets can push every category 20% to 40% higher. One of the largest variables is plumbing complexity; units with a stacked wet wall save significantly on plumbing costs.
Common ADU Floor Plan Mistakes to Avoid
Even experienced builders make errors when designing ADU layouts. Knowing them in advance saves costly redesigns:
- Undersizing the entryway: Design for a minimum 4-foot entry with a coat closet.
- Ignoring the laundry: Allocate 25 to 35 square feet for a proper laundry area.
- Over-designing the kitchen: Consider space-efficient appliances to maximize counter space.
- Placing the bedroom next to the living area without a door: A pocket door or curtain divider can enhance privacy.
FAQ: ADU Floor Plans
How much does an ADU floor plan cost to have professionally designed?
Architect-drawn ADU floor plans typically cost $3,000 to $8,000 depending on complexity and location. Pre-drawn plans range from $500 to $2,500 and can be customized. Many homeowners start with pre-drawn plans and hire a draftsperson to adapt it to their specific site.
Can I design my own ADU floor plans and still get a permit?
Yes, in most jurisdictions. Owner-builder plans must meet all applicable building codes and may require a structural engineer’s stamp. Some cities mandate licensed architect approval. Check local building department provisions.
What is the most efficient ADU floor plan layout for a 600-square-foot unit?
The most efficient layout places the kitchen and bathroom on a shared plumbing wall, with the bedroom on the opposite side to minimize hallway space and maximize natural light.
Do ADU floor plans need to match the main house’s architectural style?
Most jurisdictions don’t require style matching, but homeowners often choose complementary materials for aesthetic cohesion. Some HOAs or historic districts may enforce design guidelines.
What’s the smallest legal ADU size in most U.S. cities?
Most cities allow ADUs as small as 150 to 200 square feet for studio-style units. However, the functional minimum for a rental is typically 300 to 400 square feet.
Next Steps: Turn Your ADU Floor Plans Into a Buildable Reality
You now have a complete framework for designing ADU floor plans that work—from occupancy profiling through code validation. The next step is to choose one floor plan type, sketch a rough layout, and run it against your lot’s actual constraints.
Don’t skip the lot mapping step. It’s vital for getting your plan permitted first time around. Once validated against setbacks, height limits, and utility access, you can proceed to hire a draftsman or submit your own owner-builder plans.
If you’re still weighing whether an ADU makes sense for your property, start with a zoning check at your local building department’s website. A quick call can clarify your lot’s eligibility before you spend time in design work.