
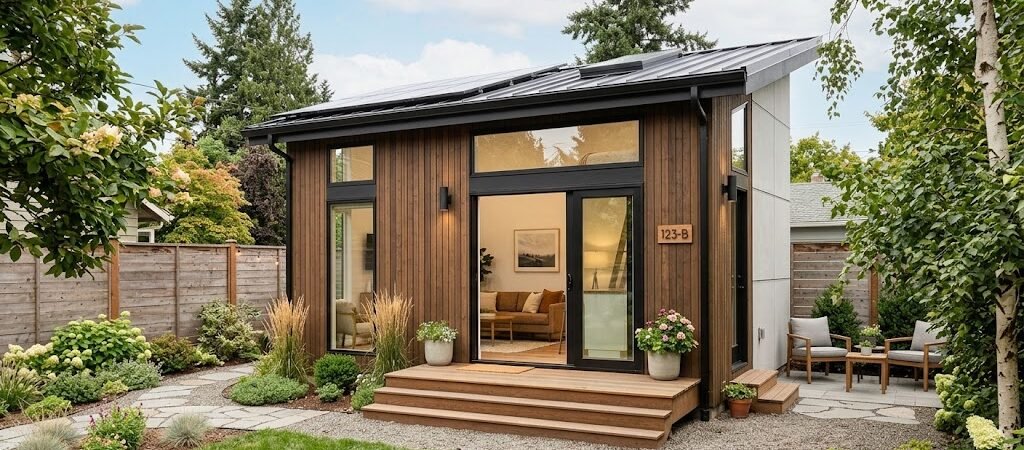
A 12×20 workshop gives you 240 square feet of dedicated space. The key is smart zoning: place your primary workbench along the longest wall, use vertical storage for tools, and position the entry to avoid workflow interruptions.
Why is a 12×20 Workshop Ideal for Small Spaces?
Most homeowners and small business owners hit a wall when their garage or shed gets too cluttered. A detached 12×20 shop gives you a clean break from household chaos while staying affordable to build.
You get enough room for a serious workbench, storage walls, and still have space to move around safely. It’s large enough to tackle projects but small enough to heat, light, and maintain without breaking the bank.
The real challenge isn’t finding floor space—it’s organizing it so everything has a place. That’s where deliberate planning pays off.
What is Layout Option 1: The Classic L-Shaped Workbench?
Place a continuous L-shaped workbench along the two longest walls. This gives you 16 feet of uninterrupted counter space, which is rare in a small footprint.
- The corner becomes your main machining or assembly zone.
- One leg holds your table saw or drill press; the other leg is for hand tools, clamps, and finishing supplies.
Underneath the bench, install cabinet doors and deep drawers for bulky items. Leave the top section open with slatwall or pegboard for frequently used tools within arm’s reach.
What is Layout Option 2: Parallel Workbenches with a Center Island?
If you share the shop with a partner or run two distinct trades, parallel benches along the side walls free up the center for a movable island cart.
- The island can hold a bench vise, a portable power station, or a rolling tool chest.
- Slide it out of the way when you need floor space for long lumber.
This layout keeps workflow separate and reduces clutter, but you’ll need to ensure at least 36 inches of clearance between benches for safe movement.
How Can You Implement Vertical Tool Storage Effectively?
Wall space is your most valuable asset in a 12×20. Floor storage gets buried; wall storage stays visible and accessible.
- Install a full slatwall system on at least one long wall.
- Use heavy-duty shelf brackets rated for at least 150 pounds for heavier items.
- Keep a magnetic strip on the wall for chisels, screwdrivers, and small metal tools.
How Does Entry Placement Affect Workflow?
Where you put the door changes everything. An entry on the short end (12-foot wall) keeps the long wall free for benches and storage.
- Avoid placing the door directly opposite your main workbench.
- Position the door to enter into a clear staging area.
What is the Best Lighting and Electrical Planning?
Under-lighting is non-negotiable. Shadows on your workbench cause mistakes and eye strain. Install LED strip lights under every wall cabinet and shelf.
- Plan for at least four 20-amp circuits.
- Put GFCI-protected outlets on all exterior walls.
Comparison: 12×20 vs. 10×12 vs. 16×20 Shop Layouts

| Dimension | Bench Space | Storage Capacity | Best For |
|---|---|---|---|
| 12×20 (240 sq ft) | 12–16 linear feet | High (full wall systems) | Serious hobbyists, small production |
| 10×12 (120 sq ft) | 6–8 linear feet | Moderate (partial walls) | Beginners, light woodworking |
| 16×20 (320 sq ft) | 16–20 linear feet | Very high (multiple zones) | Multi-trade shops, small business |
A 10×12 shop forces you to choose between bench space and storage. A 16×20 gives you room for separate zones but costs significantly more to build and climate-control.
The 12×20 hits the balance. You can run a full workbench, a dedicated storage wall, and still have floor space for a large project like a cabinet or table.
What Building Codes and Permits Should You Expect?
Most municipalities require a permit for any detached structure over 200 square feet. A 12×20 shop is right on that threshold—check your local rules before breaking ground.
- Meet minimum setback requirements from property lines, usually 5–10 feet.
- Electrical and plumbing work typically requires a licensed professional.
FAQ: 12×20 Workshop Plans
Can I fit a table saw in a 12×20 workshop?
Yes. A standard table saw needs about 4×4 feet of clear space around it. Place it on a dedicated bench or cabinet against a long wall, and you’ll have room to cut full sheets of plywood safely.
How do I keep a small workshop organized long-term?
Label everything. Use clear bins for small parts, shadow boards for hand tools, and a digital inventory app if you have hundreds of items. Reassess your layout every six months as your needs change.
Is a 12×20 shop enough for a small business?
For light manufacturing, custom fabrication, or woodworking, yes. If you need to store raw materials in bulk or run multiple employees simultaneously, you’ll outgrow it quickly.
What’s the cheapest way to heat a 12×20 workshop?
A 1500-watt infrared panel heater costs about $150 and can warm the space efficiently. Pair it with proper insulation in the walls and ceiling to retain heat.
Your 12×20 Workshop Action Checklist
- Draw a scaled floor plan before buying lumber.
- Place the workbench along the longest uninterrupted wall.
- Install slatwall or pegboard on at least one full wall.
- Position the entry door away from your primary work zone.
- Wire for at least four 20-amp circuits with GFCI protection.
- Add LED under-cabinet lighting to every workspace.
- Check local permit requirements before construction begins.
- Leave 36 inches of clearance between benches or storage units.
A well-planned 12×20 workshop turns a cluttered corner into a professional-grade space. The difference between a cramped shed and a functional shop comes down to deliberate layout choices, not square footage alone.
Start with your largest tool, measure its footprint, then work backward to position benches, storage, and entry points. Your future self will thank you when you’re not tripping over a toolbox every time you enter the room.